Having got a really nice Acratech ball head I realised I needed some Arca Swiss style quick release plates. I initially bought a couple from pro media gear, they are very nicely made, and I have a 3 inch one permanently on the base of my camera, and a 6 inch fixed to the foot of my Sigma 500mm f/4.5. That just leaves my 70-200 f/2.8 and Sigma 150mm f/2.8 macro without a quick release plate permanently attached. I could just take the one off my camera and switch that one back and forth, but it doesn’t fit the smaller foot particularly well, and it’s a pain having to remember to take an Allen key.
Whilst rummaging in the scrap metal bin in the workshop I came across an offcut of thick aluminium checkerplate. This was the ideal thickness for a quick release plate, and being aluminium it is easy to work by hand.
It didn’t take long to cut a piece out, and file it with 45 degree edges, and pleasing corners using a flat hand file. The file clogged quite quickly but using a draw file technique, and regular cleaning with a wire brush stopped any major issues.
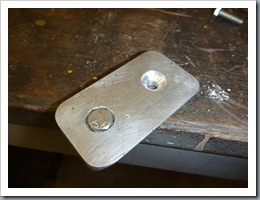
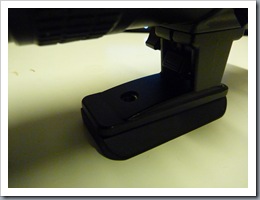
Using the lens foot as a template I marked where to drill the holes, and used a centre punch to make sure I didn’t wander with the drill bit. Using a bigger drill bit I countersunk the holes. I cut a slot in the heads of the bolts to enable tightening with a screwdriver, and filed the underside to match the countersink.
With a coat of black paint it was ready to mount on the lens foot. I don’t know how durable the paint will be, of course anodising would be tougher, well, maybe I should look it up and see if I can!
PS.
Always measure twice, cut once. This rule also follows for drilling holes. Make sure you double check which side to do the countersink on. I messed it up the first time and had to remake the plate. Oops! Fortunately I’ve been able to use it on another project which I’ll blog about shortly :-)


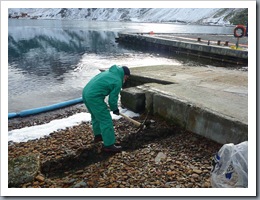 Having first put drum containers over the leaking barrels and upending them to prevent further leakage we put out some floating absorbents, then started to dig a trench to collect any fuel seeping down the beach.
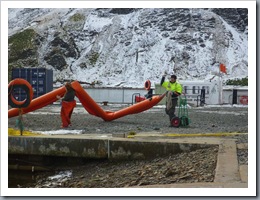 Our two booms were inflated and launched to contain any fuel on the water.
 The ‘fast tank’ was erected to collect contaminated water/fuel.
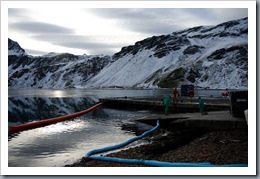 Here are the absorbent sausages, the boom and the ditch.
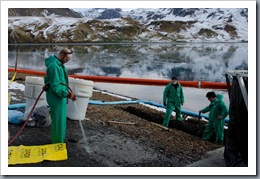 Flushing the ‘fuel’ out of the beach into the ditch where it collects and can be pumped into the ‘fast tank’.
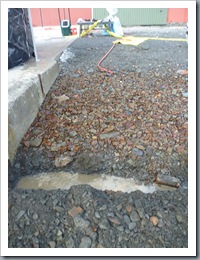 Water collecting in the ditch.
 Ernie and Katie setting up the skimmer.
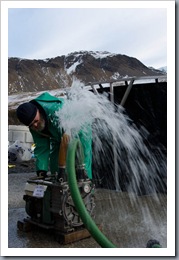 Ernie getting the pump working.
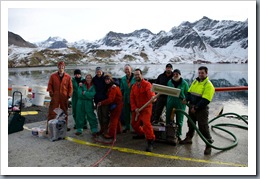 Disaster averted by team KEP.
 Three photos stitched together, an interesting part of the milky way.
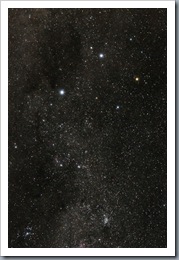 The Southern Cross
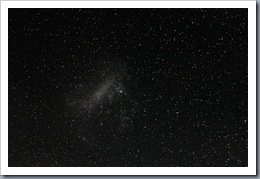 The Large Magellanic Cloud, the Tarantula Nebula is on it’s right hand side